Everything is computer based these days, so if you want to be able to share your photos with friends, family, or clients, you are going to need to know how to make your images web friendly. The following is a brief guide to having your photos look just as good online, as they do on your digital camera.
Re-Save As a New File Name
The first thing you need to do is re-save your image with a new file name so that it’s web friendly and therefore opens properly. That means no spaces in the file name and no special characters. For example, if your file is called ‘John at retirement party,’ you should change it to ‘johnatretirementparty’ or even better, ‘john_at_retirement_party.’ Using lower case, numbers, hyphens and underscores are usually your best bet.
Adjust Levels
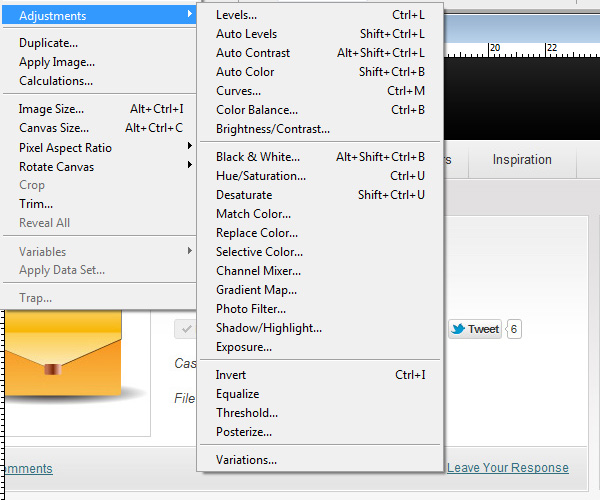
Once your image has been properly renamed and saved, you will need to adjust the levels on your photo using Photoshop, to make sure it looks its best. Go through and adjust the brightness/darkness, shadows and highlights, making sure you save your work at each step. Then move on to the Hue/Saturation, Colour Balance, and Brightness/Contrast, and once you have your photo just as you want it, save it again.
Crop and Resize
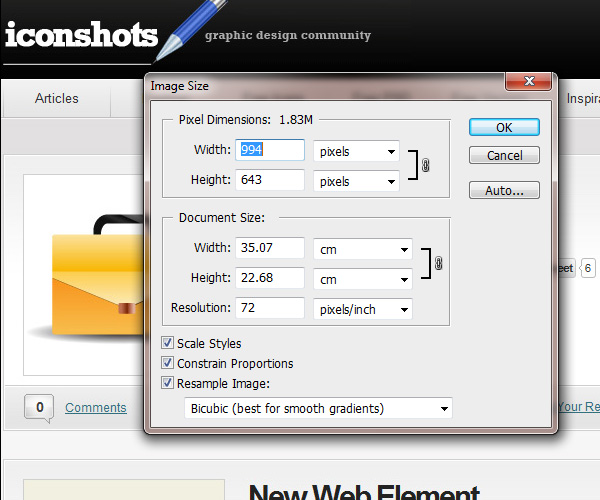
One of the most important things you need for your images to be web friendly is to make sure they are the right size. Cropping your photos is just a matter of deciding which part of the photo you want to highlight, though resizing involves not just making sure the photo will physically fit, but that it will be in the right resolution. (Resolution is measured in pixels per inch, also referred to as dots per inch or dpi). Your photo needs to be 72 dpi for it to look good on the web, and you can use Photoshop to set the width, height and resolution, and crop the image all at once.
Sharpen
Now that your photo is set at 72 dpi, the resolution will be quite low, so once again, using Photoshop, it’s a good idea to sharpen up your image. Using the Filter Menu, select ‘Sharpen > Unsharpen Mask,’ then play around with your image until you have it looking its best. For best results, sharpen to between 40 and 60%, set the Radius around 1.5, and the Threshold Level around 0.
Save for the Web
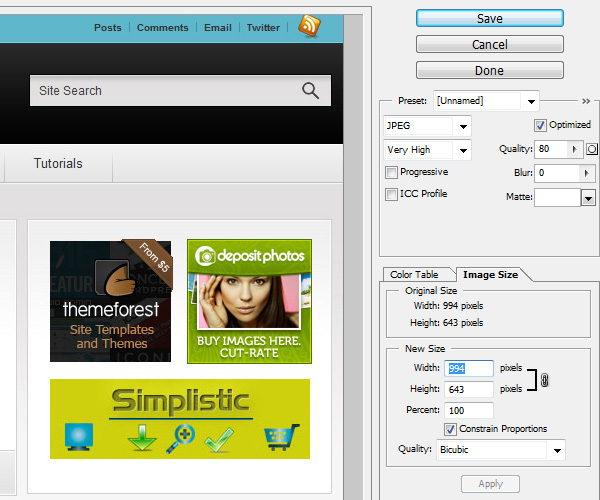
Photoshop makes this final step extremely easy, as all you will need to do is select ‘Save for web and devices’ on the File menu. This will give you a preview of what your image will look like on the web, and allow you to make changes before doing your final save. For full colour photos, choose JPEG format at 40-45 for the best results, and select the ‘Progressive’ check box to reduce blurriness in your JPEG image.
Being able to easily get your photos onto the web and have them looking great, will allow you to keep your website up to date, as well as easily send images to friends and family. You will no longer have to be embarrassed by pictures that are blurry or are simply far too big or small, and if you want to really master your web image skills, it’s well worth taking one of the handy Adobe courses in Photoshop or InDesign training.
Subscribe to our RSS-feed and follow us on Twitter to stay in touch.
Discover more from Life and Tech Shots Magazine
Subscribe to get the latest posts sent to your email.


2 Comments