If you are new to T-Shirt Design, you may not know where to begin when it comes to getting artwork ready for screen printing. So Today We begin T-Shirt Printing with separating images into colors. This is the first important step.
This is the first important step. This article provides some useful tutorials about color separation.
You may be interested in the following related articles as well.
Photoshop Tutorial: Separating Colors for Screen Printing
If you are new to screen printing, you may not know where to begin when it comes to getting artwork ready for printing. Separating images into colors is an important step. Luckily Photoshop makes this pretty easy. I am going to show you how in just a few easy steps.
Index Color Separation
This is a process of choosing a few colors to represent millions of colors that built up an image/design. It breaks down millions of colors into a few colors that BEST represent an image when they are printed back together on a t-shirt.
How to Prepare Artwork for Screen-Printing
A great piece of design or illustration can be taken to new heights by having it screen-printed. The texture and variance of the ink on the paper is beautiful, and the ‘happy mistakes’ are delicious. But this magic is not possible without prepping your artwork. Let’s learn how!
Create a Three-Color Illustration for Screen Printing – Psd Premium Tutorial
This tutorial shows step-by-step how to create separated artwork for a screen printed T-shirt. Screen printing is regarded as the best method of printing onto apparel because of the quality it produces – and should not be confused with the inferior 4-color heat transfer printing which does not look as good or last as long. The tutorial also demystifies how to manage special or spot colors using Photoshop’s channels.
Color Separation for Screen Printing – Gimp Tutorial
To screen print an image with more than one color you will need to make a separate stencil for each color. This means you will need to print out transparencies to expose with, and you need a program that will easily allow you to prepare the images for printing. A good one for this is a program called GIMP (GNU Image Manipulation Program) because it is free and has a lot of powerful features. Doing color separation is very easy with GIMP and will not take much time at all.
Printing Separations in Color
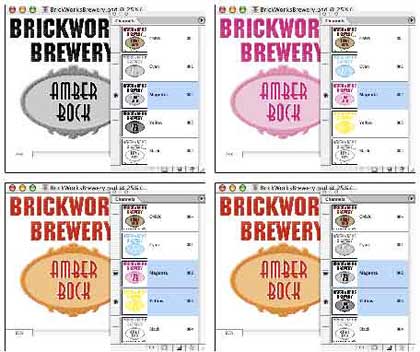
It’s easy to see individual channels in color in Photoshop’s Channels palette–simply select “Color Channels in Color” in Preferences> Display & Cursors. But what if you want to print the channels in color, say as samples for a screenprinter?
Full Color Screen Printing with Photoshop
In that article we discussed the principles of the CMYK color model, color separations, halftones, and lines per inch (LPI). In this tutorial, we are going to take what we have learned, and using photoshop, quickly create color separations for output to transparencies for screen printing.
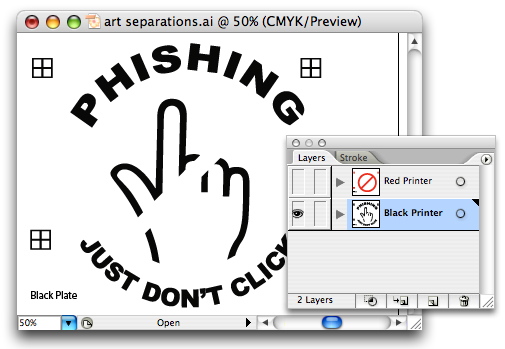
Using Photoshop or Illustrator to make Separations
While there are many, many various opinions on how to produce color separations for “flat-color” printing, this is the most basic and foolproof.
Create a Complete Apparel Tech Pack
This tutorial will set out to give you step-by-step instructions for ensuring that your files are properly set up and ready to go to print! (AKA: Creating a ‘Tech Pack’) Hold on, ‘cuz it’s long, but once you get it down, your clients and printers will love you!
You may be interested in the following related articles as well.
- Various Printing Methods Used in T-shirt Printing
- Flowers for T-Shirt Printing
- Fashion Sketches ready to use app
Subscribe to our RSS-feed and follow us on Twitter to stay in touch.
Discover more from Life and Tech Shots Magazine
Subscribe to get the latest posts sent to your email.


This article is truly informative which could be a big help in the business. Thank you for sharing this idea.