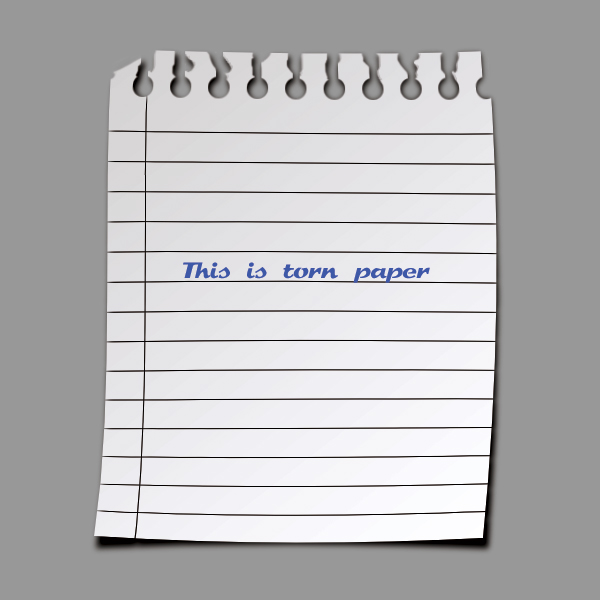
In this tutorial you will learn how to create a torn paper. The result can be used as an icon or you can use it as a background in your newsletters. Brush effects and clipping mask commonly used in this tutorial.
How to create a torn paper in Photoshop
Tutorial Details
- Program: Adobe Photoshop
- Difficulty: Intermediate
- Estimated Completion Time: 30 minutes
Step 1
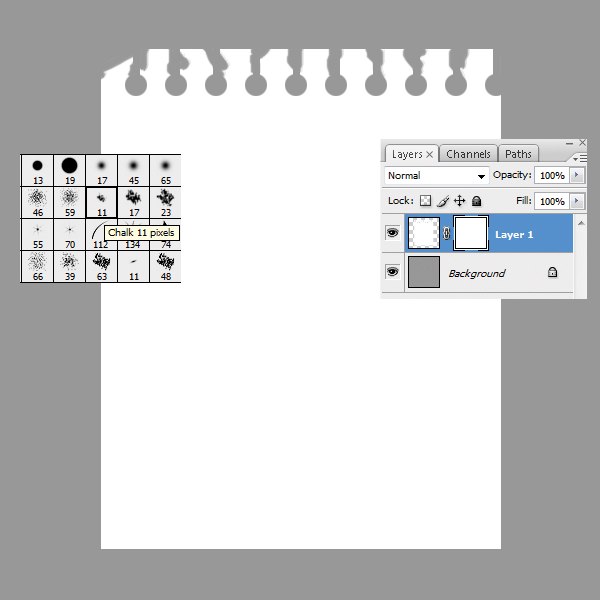
Create a new document with 600 pixels by 600 pixels. Since the torn paper will be white, set a background color that makes it visible as it’s created. Create a new Layer, use the Rectangular Marquee tool with fixed size 400 x 500 pixels and fill it with white.
Step 2
Use Elliptical and Rectangular tools to create the holes at the top of the paper.
Step 3
Add a Layer Mask to the Paper layer. Now use the Chalk Brush 11 pixels to paint away tear marks between the holes.
Step 4
Create a new Layer. Use the Single Row Marquee Tool and the Single Column Marquee Tool to create the lines across the paper and fill them with blue color.
Step 5
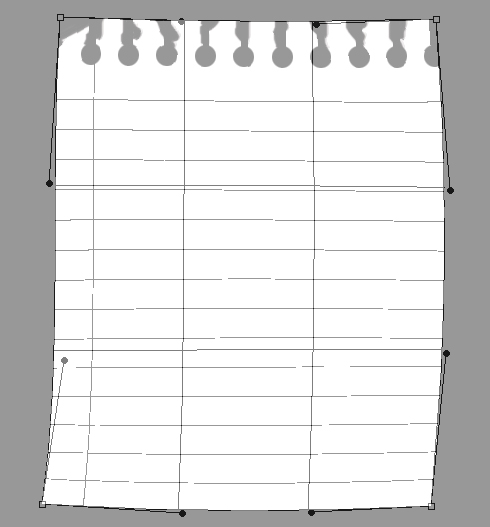
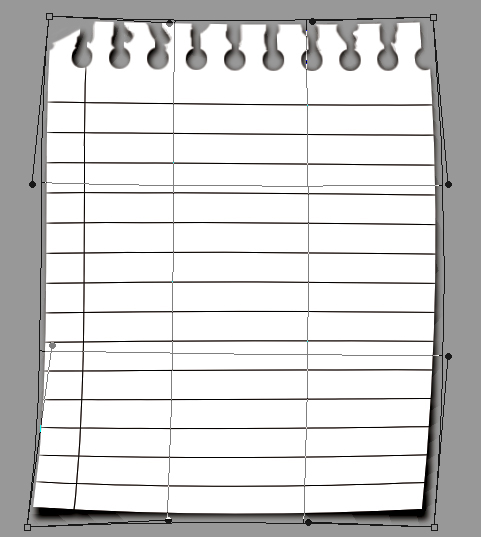
Select the first layer from the Layers Palette, Ctrl+Click the Layer Mask and Apply Layer Mask from the Layer Menu. Duplicate this Layer and put it below the first Layer. This Layer will be used as a Shadow. Now hide this layer by clicking eye icon. Free Transform Tool in Warp Mode will let us to drag the corners of the paper inward to create a real paper effect.
Step 6
Select the Shadow Layer and make it visible. Invert the colors to black by pressing Ctrl+I. Apply a Gaussian Blur from Filter > Blur Menu. Make Radius Pixels 3. Then Transform this layer also as we did in the previous Step.
Step 7
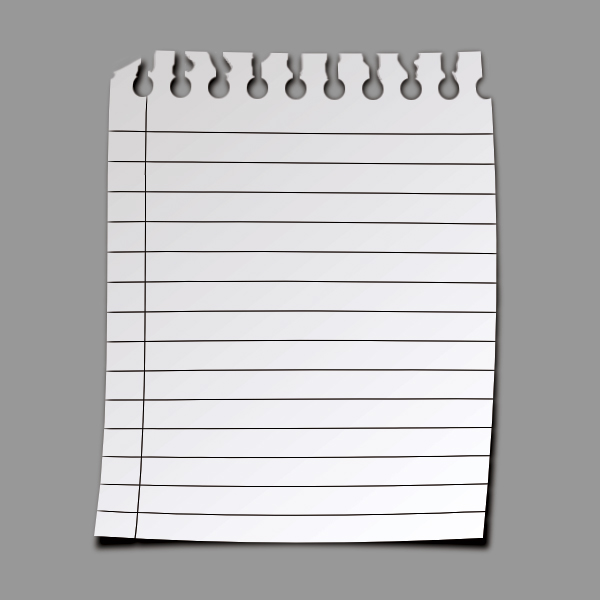
Create a new layer above the first layer and make a clipping mask. Then draw a black to transparent linear gradient from the down left corner at an angle into the document to create a shadow. Set this layer’s opacity to 10%.
Step 8
Add some text.
Download the result.
Discover more from Life and Tech Shots Magazine
Subscribe to get the latest posts sent to your email.




Nice work, not descriptive enough for beginners (may be to intermediate users as well). If you could update each step bit more, the way Photoshop tools should use, it’ll make the article makes perfect. 🙂