Today I will show you how to draw a interface button in Illustrator, using the Ellipse Tool, Offset Path and gradients. This tutorial is very easy and doesn’t take so much time. Actually it’s for beginners. So, let’s start!!!
How to create media player “Play” button
Tutorial Details
- Used Program: Adobe Illustrator CS3
- Difficulty: Beginner
- Estimated Completion Time: 30 minutes
You may also be interested in the following Articles.
- Motorbike Draft Drawing
- Alaska Graphic T-Shirt Printing
- T-Shirt of the Week #5
- Little Bear Vector Graphic
This will be our final image.
Step 1
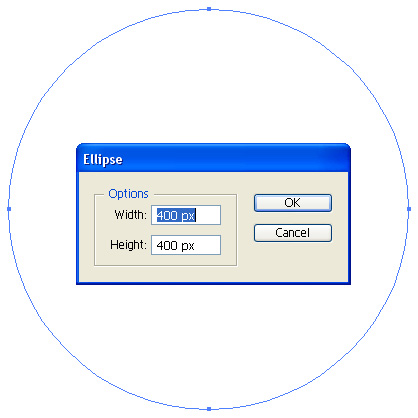
Open a new document with 420 pixels by 420 pixels. Activate Smart Guides in View Menu (Ctrl+U). Draw a circle with a Ellipse Tool 400 pixels width and 400 pixels height.
Step 2
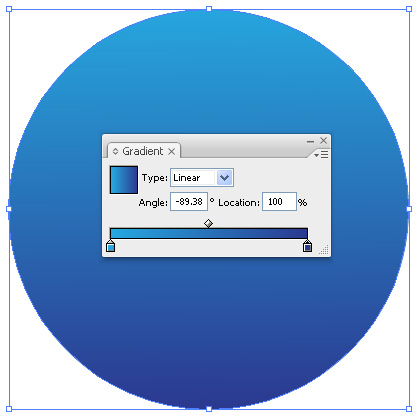
Fill the circle with a linear gradient with colors from R=38, G=169, B=224 to R=43, G=56, B=143.
Step 3
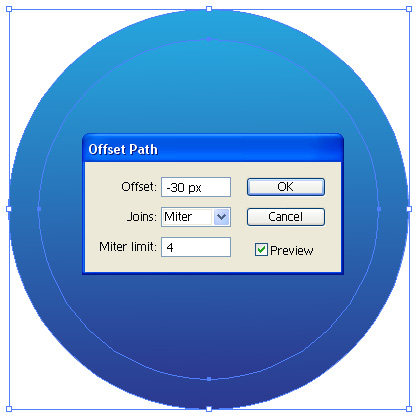
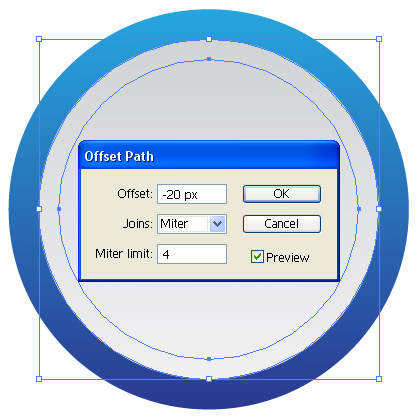
With Circle selected go to Object > Path > Offset to open the Offset Path dialog. Change the Offset to -30 pixels and press OK.
Step 4
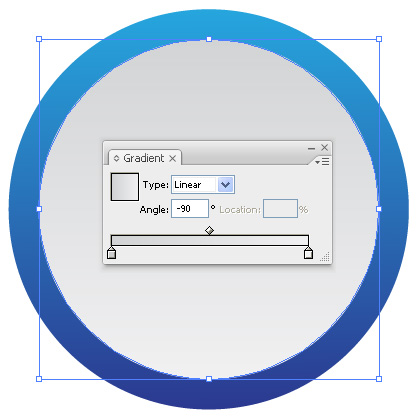
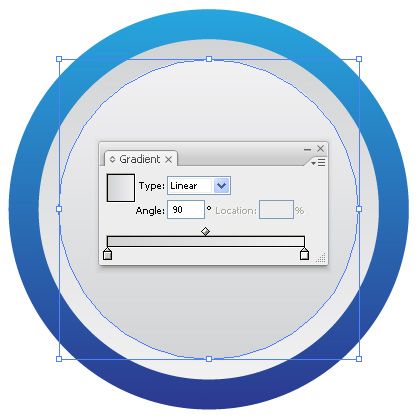
Fill the smaller circle with a linear gradient with Grayscale color 20% to 5%. Set the angle to -90 degree.
Step 5
Now with Smaller Circle selected go to Object > Path > Offset to open the Offset Path dialog. Change the Offset to -0 pixels and press OK.
Step 6
Don’t change the color of the smallest circle, only change the gradient angle to 90 degree.
Step 7
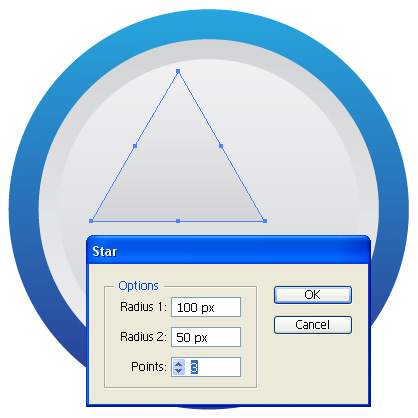
Select all circles and group them. Draw a triangle with Star Tool that is 100 pixels width Radius 1 and 100 pixels Radius 2, Points – 3, press OK.
Step 8
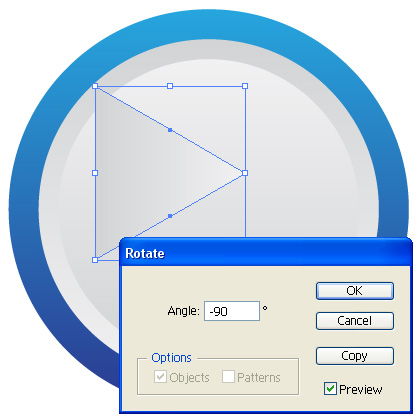
Rotate the Triangle to -90 degree, press OK.
Step 9
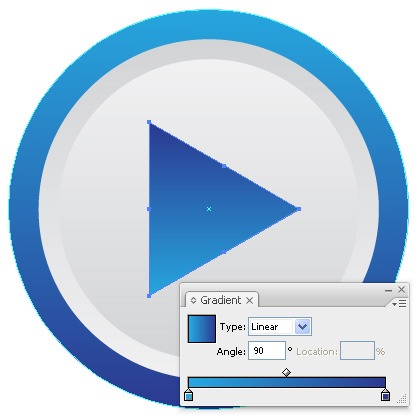
Place the Triangle at the center of Circles. Select Triangle and with Eyedropper Tool click on the biggest circle that is blue gradient. Change the gradient angle to 90 degree.
Step 10
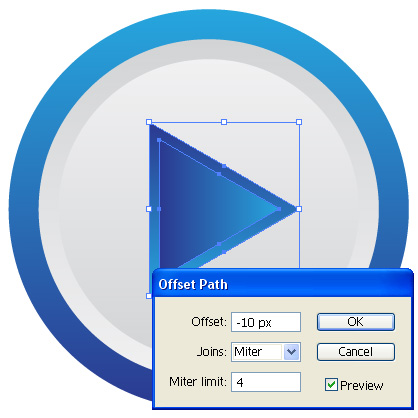
With Triangle selected go to Object > Path > Offset to open the Offset Path dialog. Change the Offset to -10 pixels and press OK.
Step 11
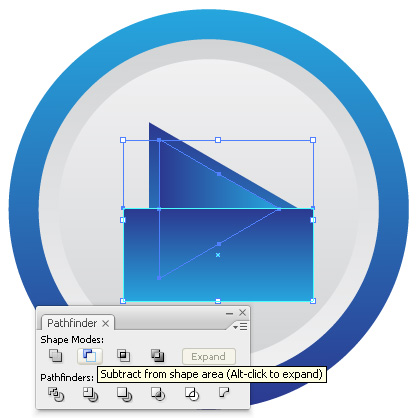
Draw a rectangle that intersects the triangle. With rectangle and triangle selected press the Subtract From Shape Areas button in the Pathfinder Panel.
Step 12
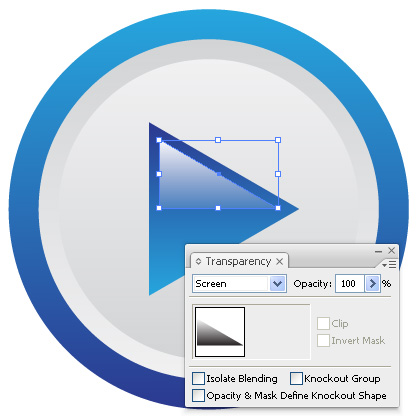
Fill it with a linear gradient with colors white and black, change the gradient angle to -90 degree. Last step, change the transparency to Screen Mode.
Final Image
You can download .ai and .eps formats below.
You may also be interested in the following Articles.
- The Breathtaking Concept Designs of Kerem Beyit
- Inspiration: Fantastic City View
- Inspiration: Human Body and Nature
- Photo Realistic 3D Graphics: Inspiration
Subscribe to our RSS-feed and follow me on Twitter to stay in touch.
Discover more from Life and Tech Shots Magazine
Subscribe to get the latest posts sent to your email.

This tutorial was very simple and helpful. It gave me a better understanding of use of pathfinder and using the gradient. thank you
I managed to follow the tutorial without even making a mistake. Great site, thank you very much!
Very good tutorial
Hi, I tried ur tutorial. Its very good for beginners. Just that I can see a black outline for everyshape in my assignment. How to get rid of it? Thanks
thanks for this — it was my first illustrator tutorial. it was a great introduction.
Really it was very good tutorial to learn about illustrator and you have explained very well to understand the beginners…….. thanks
Great stuff. Very nice and well executed tutorial. Thanks for the post.
You are welcome and thanks for your great comment!
Hi!
This is a really really great beginner tutorial!
I decided to take a more close look on Illustrator but I needed to start somewhere and I begun with this tutorial which was very easy to understand so it was no problem and it’s pretty funny because it took exactly 30 minutes 😀
Thanks, appreciate your help!
Thanx